The Toolbox
The Toolbox

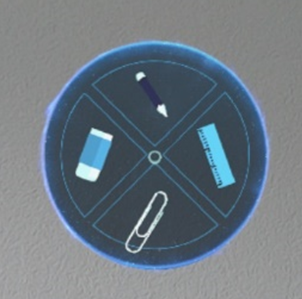
After launching the Toolbox from the session menu, the user is presented with the panel pictured above.
With the button on the top, the user can enter scribbling mode.
With the button to the right, the user can enter measuring mode.
With the button on the bottom, the user can enter grouping mode.
With the button to the left, the user can enter deletion mode.
The Toolbox can be closed by clicking anywhere in open space where there are no holograms obscuring the user’s field of view.
Scribbling Mode

After having entered scribbling mode, the user can add three-dimensional, hand-written inputs into physical space.
A small panel with two buttons follows the user’s gaze on the lower end of his field of view to toggle both line width and color before drawing, not shown on the picture depicted above.
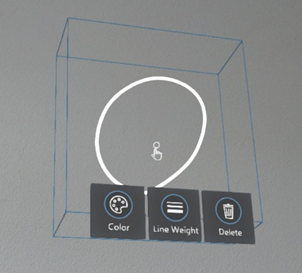
Subsequent editing is always possible by clicking on the drawing afterwards. Three buttons, as depicted above, will appear: with the button to the left, the user can adjust the drawn line’s colour.
With the button in the middle, the user can adjust the line’s thickness.
With the button to the right, the user can delete the scribbling.
Scribblings behave like normal holograms and can be moved at any time.
The scribbling mode can be ended by clicking anywhere in open space where there are no holograms obscuring the user’s field of view.
Measuring Mode

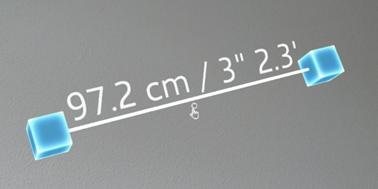
After having entered measuring mode, the user is able to measure distances in the real world, either between physical points of reference, holographic points of reference or any combination.
Measurements behave like normal holograms and can be edited at any time.
Grouping Mode

After having entered grouping mode, the user is able to group holograms of any kind together, which are then manipulated simultaneously – e.g. when moving or scaling the content. In order to group holograms, the user has to click on the first and then the second hologram he wishes to be grouped. A blue indicator line acts as visual support.
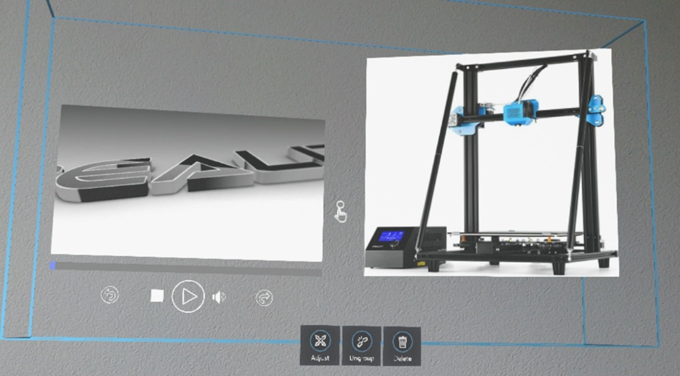
Subsequent editing is always possible by clicking on the holograms. Three buttons, as depicted above, will appear:
With the button to the left, the user can adjust the rotation and scale of the holograms.
With the button in the middle, the user can ungroup the selected holograms.
With the button to the left, the user can delete the selected holograms.
Deletion Mode
After having entered deletion mode, the user is able to erase holographic content by clicking on holograms of all kind.
The deletion mode can be ended by clicking anywhere in open space where there are no holograms obscuring the user’s field of view.