Spawning and Manipulating Media
Spawning Media
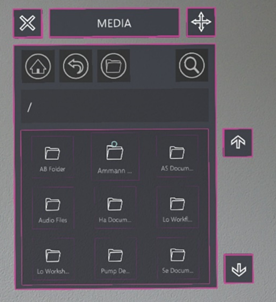
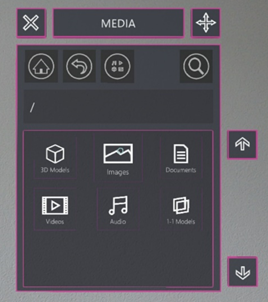
After having launched the media panel, the user is presented with the panel depicted above to the left. From here, the user can spawn holographic content of all kinds (documents, photos, videos, audio data and 3D models) into his field of view by selecting and placing an object from the panel.
With the button in the top middle showing a little folder, the user can switch between folder and media type structure, which changes the panel to the one depicted on the right. With the button in the same place as before, the view can be switched back.
With the home button depicting a little house on the top left of the panel, the user can go back to the original landing panel.
With the button depicting an arrow next to the home button, the user can go back one level in the folder hierarchy.
With the search button depicting a looking glass on the top right of the panel, the user can search for specific media files.
With the arrow buttons right next to the panel, the user can scroll up and down the media list.
With the button in the top left corner, the user can close the media panel.
With the button in the top right corner, the user can move the media panel around.
Manipulating Media
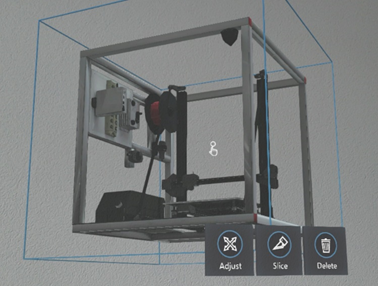
After having spawned holographic content, the user can manipulate it. All file types of holographic content are manipulated in the same way. First, the user needs to click on the holographic content, after which a blue bounding-box surrounds it and setting buttons appear.
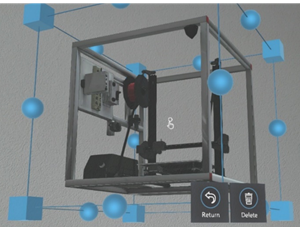
After clicking the ‘Adjust’ button to the left, little cubes and balls appear on the corners and edges, respectively, of the box surrounding the content, as depicted on the image to the bottom left. By interacting with the cubes, the user can adjust the size of the hologram. By interacting with the balls, the user can rotate the hologram.
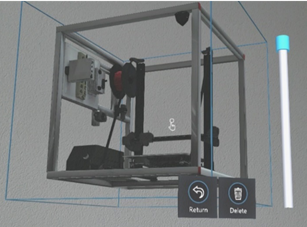
After clicking the ‘Slice’ button in the middle, the user can slice the hologram down, as depicted on the image to the bottom right. By interacting with the blue handle and moving it up or down, the hologram is sliced.
Video- and audio holographic content include additional buttons, such as typical ‘pause’ or ‘stop’ buttons, to interact with the specific media type.
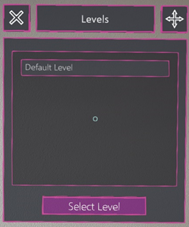
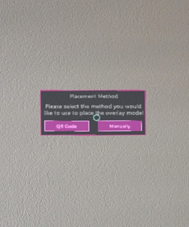
1:1-scale overlay models are spawned in a slightly different manner compared to documents, pictures, audio files, videos and tabletop 3D models: after selecting the overlay model, the user is asked to select the level (“default” if no level is present in a 3D model) and placing the reference points – by either gazing and clicking on them manually or using QR codes to perform the overlay:
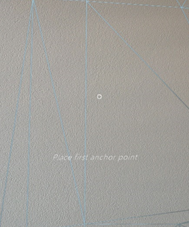
When placing the reference points manually, the position of the physical markers must be assigned to the digital reference points:
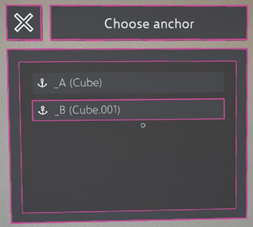
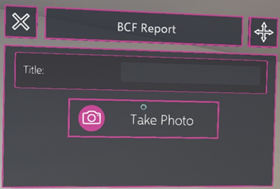
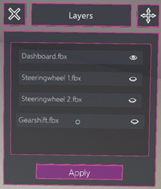
When having spawned a 1:1-scale overlay model, the session menu is enriched with 5 additional buttons (from left to right) to show / hide the reference points, create a BCF report, recalibrate the hologram’s position, switch layers or switch materials:
